An EC2 instance is a virtual server in Amazon’s Elastic Compute Cloud (EC2) used for hosting applications and services. It allows users to rent computing resources on demand and only pay for what they use.
One might want to use an EC2 instance because it offers several benefits including:
Scalability: EC2 instances can be easily scaled up or down to meet changing demand.
Flexibility: EC2 offers a variety of instance types with varying amounts of CPU, memory, and storage resources to suit a wide range of applications.
Cost-effectiveness: EC2 instances can be stopped and started as needed, so you only pay for what you use.
Reliability: EC2 instances run on Amazon’s highly available infrastructure and are designed to be highly reliable.
Overall, EC2 provides a flexible, scalable, and cost-effective computing platform that can be used to run a wide variety of applications and services.
Creating EC2 Instance
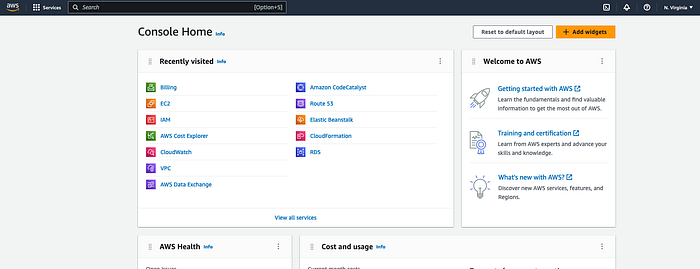
- Login to the AWS console. Initially Recently visited section will be blank.
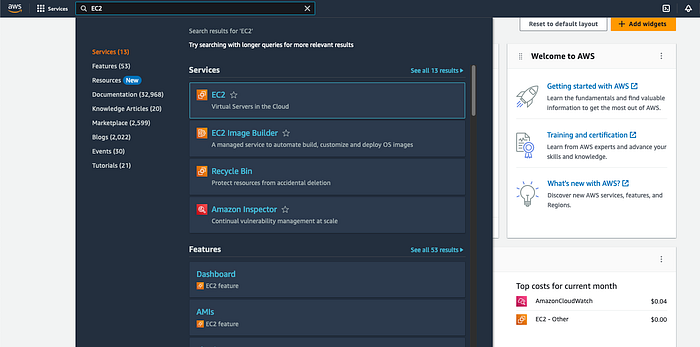
- Go to Search bar and type EC2, Select the EC2 from available options as selected here -
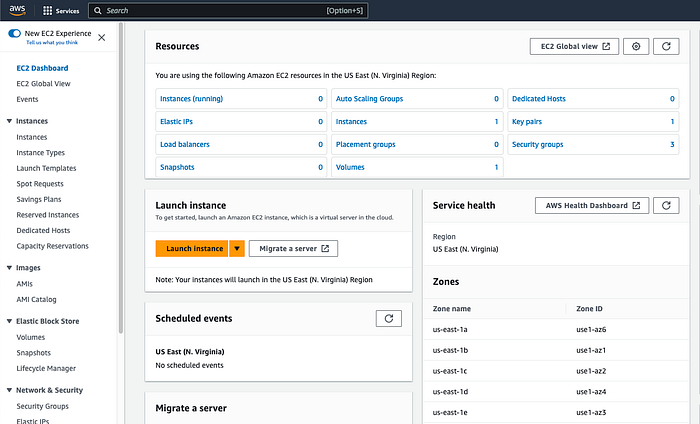
- Click on Launch Instance button (Highlighted in Orange)
- Provide a name for instance — Demo_AWS

- Under the option Application and OS Images (Amazon Machine Image), select Amazon Linux as selected in above image. Search for Amazon Linux instance, also click Free Tier only, to avoid incurring any charges and now we select Amazon Linux 2023 Version for running any applications. You can also choose other OS such as windows etc. But here we stick to the ubuntu based server. Select t2.micro instance, again to stay under free tier & it provides good performance for entry-level applications and click Next: Configure Instance Details.

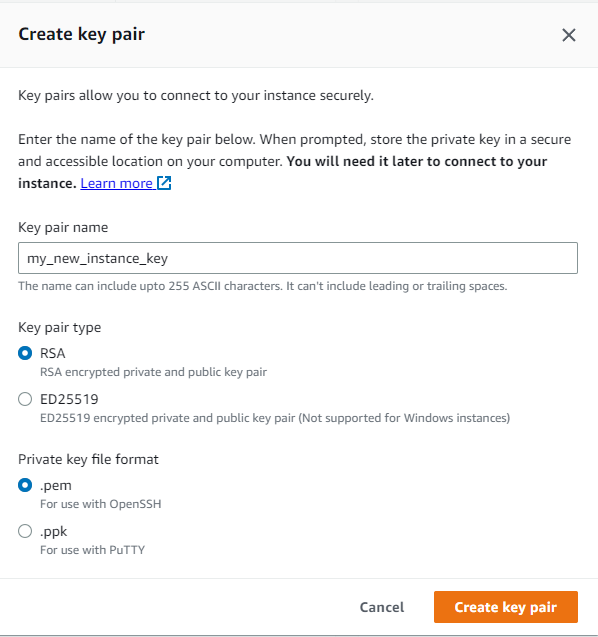
- Create new key pair by click on highlighted button “Create new key pair”. Choose to add tags by creating a new Key & Value pair for easy identification of particular EC2 instances, in case you will be managing more EC2’s in the future and click Next:
Now it’s time to create our security group! Under Network settings, the default options layout is shown below. However, we will modify this so that only our IP address can SSH into this instance, yet we will still allow HTTP traffic from anywhere as shown below.
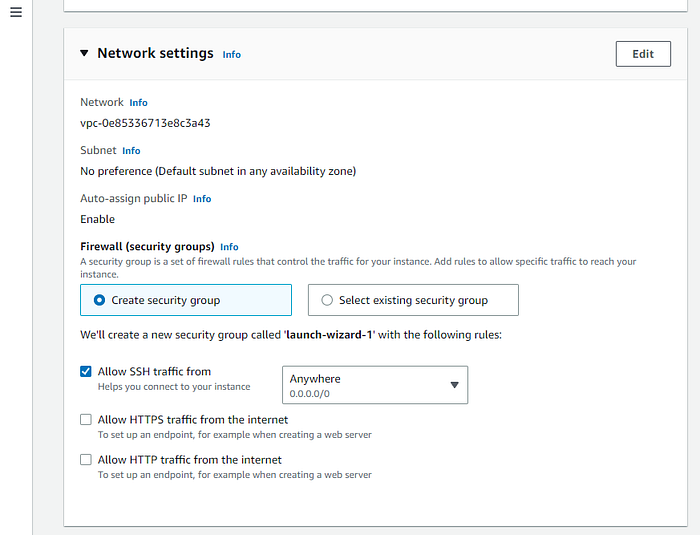
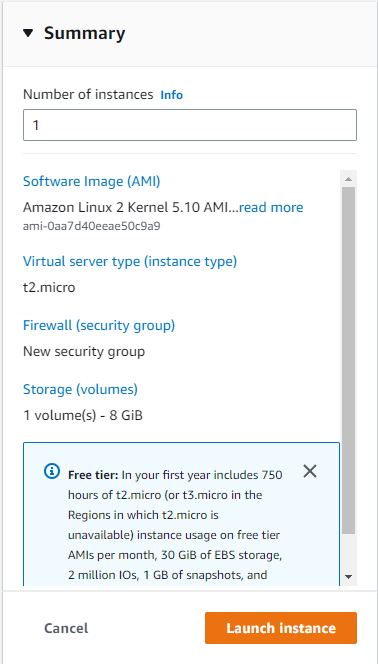
Once that is done it’s time to hit that Launch Instance button!
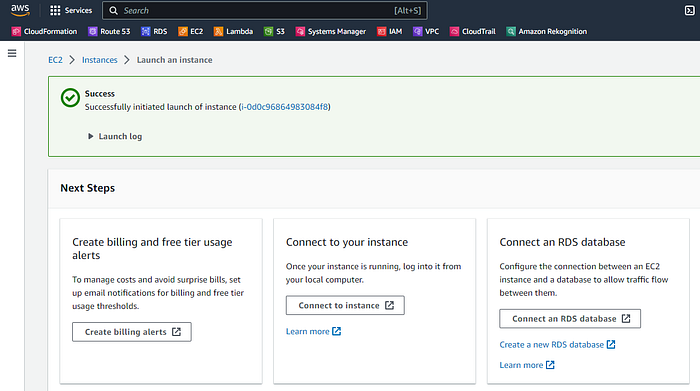
Now you will see the success screen if all went well.
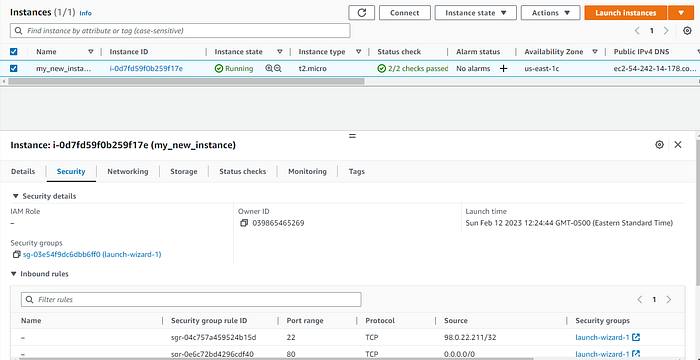
Go back to your instances page. Now you will find you have an instance available. Good job on creating your first EC2 instance! But we’re not done yet. Select your new instance as shown below.

When the options show up below click on the Security tab. You can see under Inbound Rules that only you can SSH (Port 22) into this instance but HTTP access (Port 80) is available (0.0.0.0/0) for all.
Now it’s time to connect to your instance. We will SSH into this instance. I will be using Powershell for this. AWS can make this part easier for you as well. Click on the Connect button on the upper right hand side, right above Status Check.
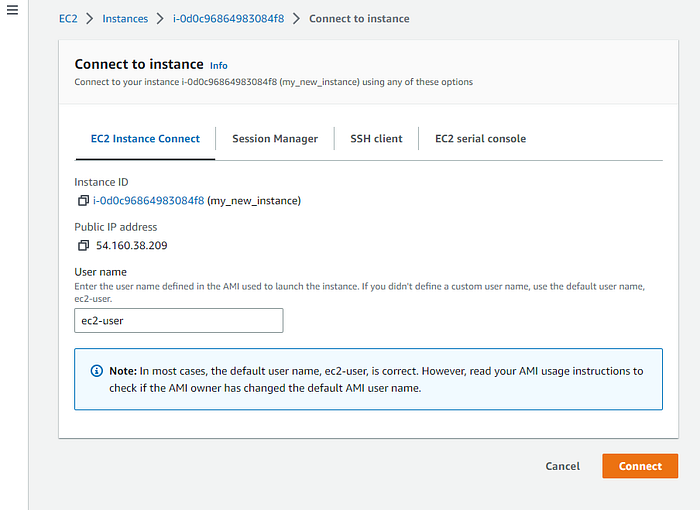
Now we in our terminal. Paste in the line and hit enter. It will ask if you want to continue. Type yes. Now you have SSH’d into your EC2 instance! Way to go!
